
When I receive new referrals from teachers in the Early Childhood and Pre-K classrooms, the most common area of concern is a student’s pencil/marker grasp. Teachers often ask me whether the student’s pencil grasp is age-appropriate, and if it isn’t, how can they fix it?
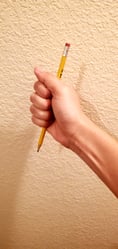
First, let’s review pencil grasp development by age.- Fist grasp (under 2 years): The child holds a writing utensil with the whole hand in a “fist” position, with the thumb at the top.
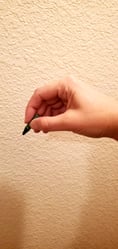
- Pronated grasp (2-3 years): The child holds a writing utensil with the thumb and pointer finger towards the tip, with remaining fingers wrapped around the marker.

- Static tripod grasp (3-4 years): The child holds the writing utensil with the thumb, pointer finger, and middle finger pinching towards the tip. The ring and pinky finger tuck in towards the palm.

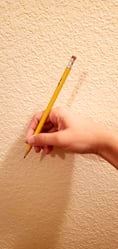
- Dynamic tripod grasp (4-5 years): The child holds a writing utensil with the thumb and pointer finger pinching towards the tip. The pencil will rest on the first joint of the middle finger, and the ring and pinky finger tuck in towards the palm.
Why is establishing a dynamic tripod grasp important?
A dynamic tripod grasp is the best grasping position that allows for small, precise movements of the fingers. Establishing a correct pencil grasp by a student’s kindergarten year will help them achieve more challenging fine motor tasks such as coloring within the lines of small images, tracing complex lines, and writing between the lines of notebook paper.
How can teachers help facilitate age-appropriate grasping skills within their classrooms?
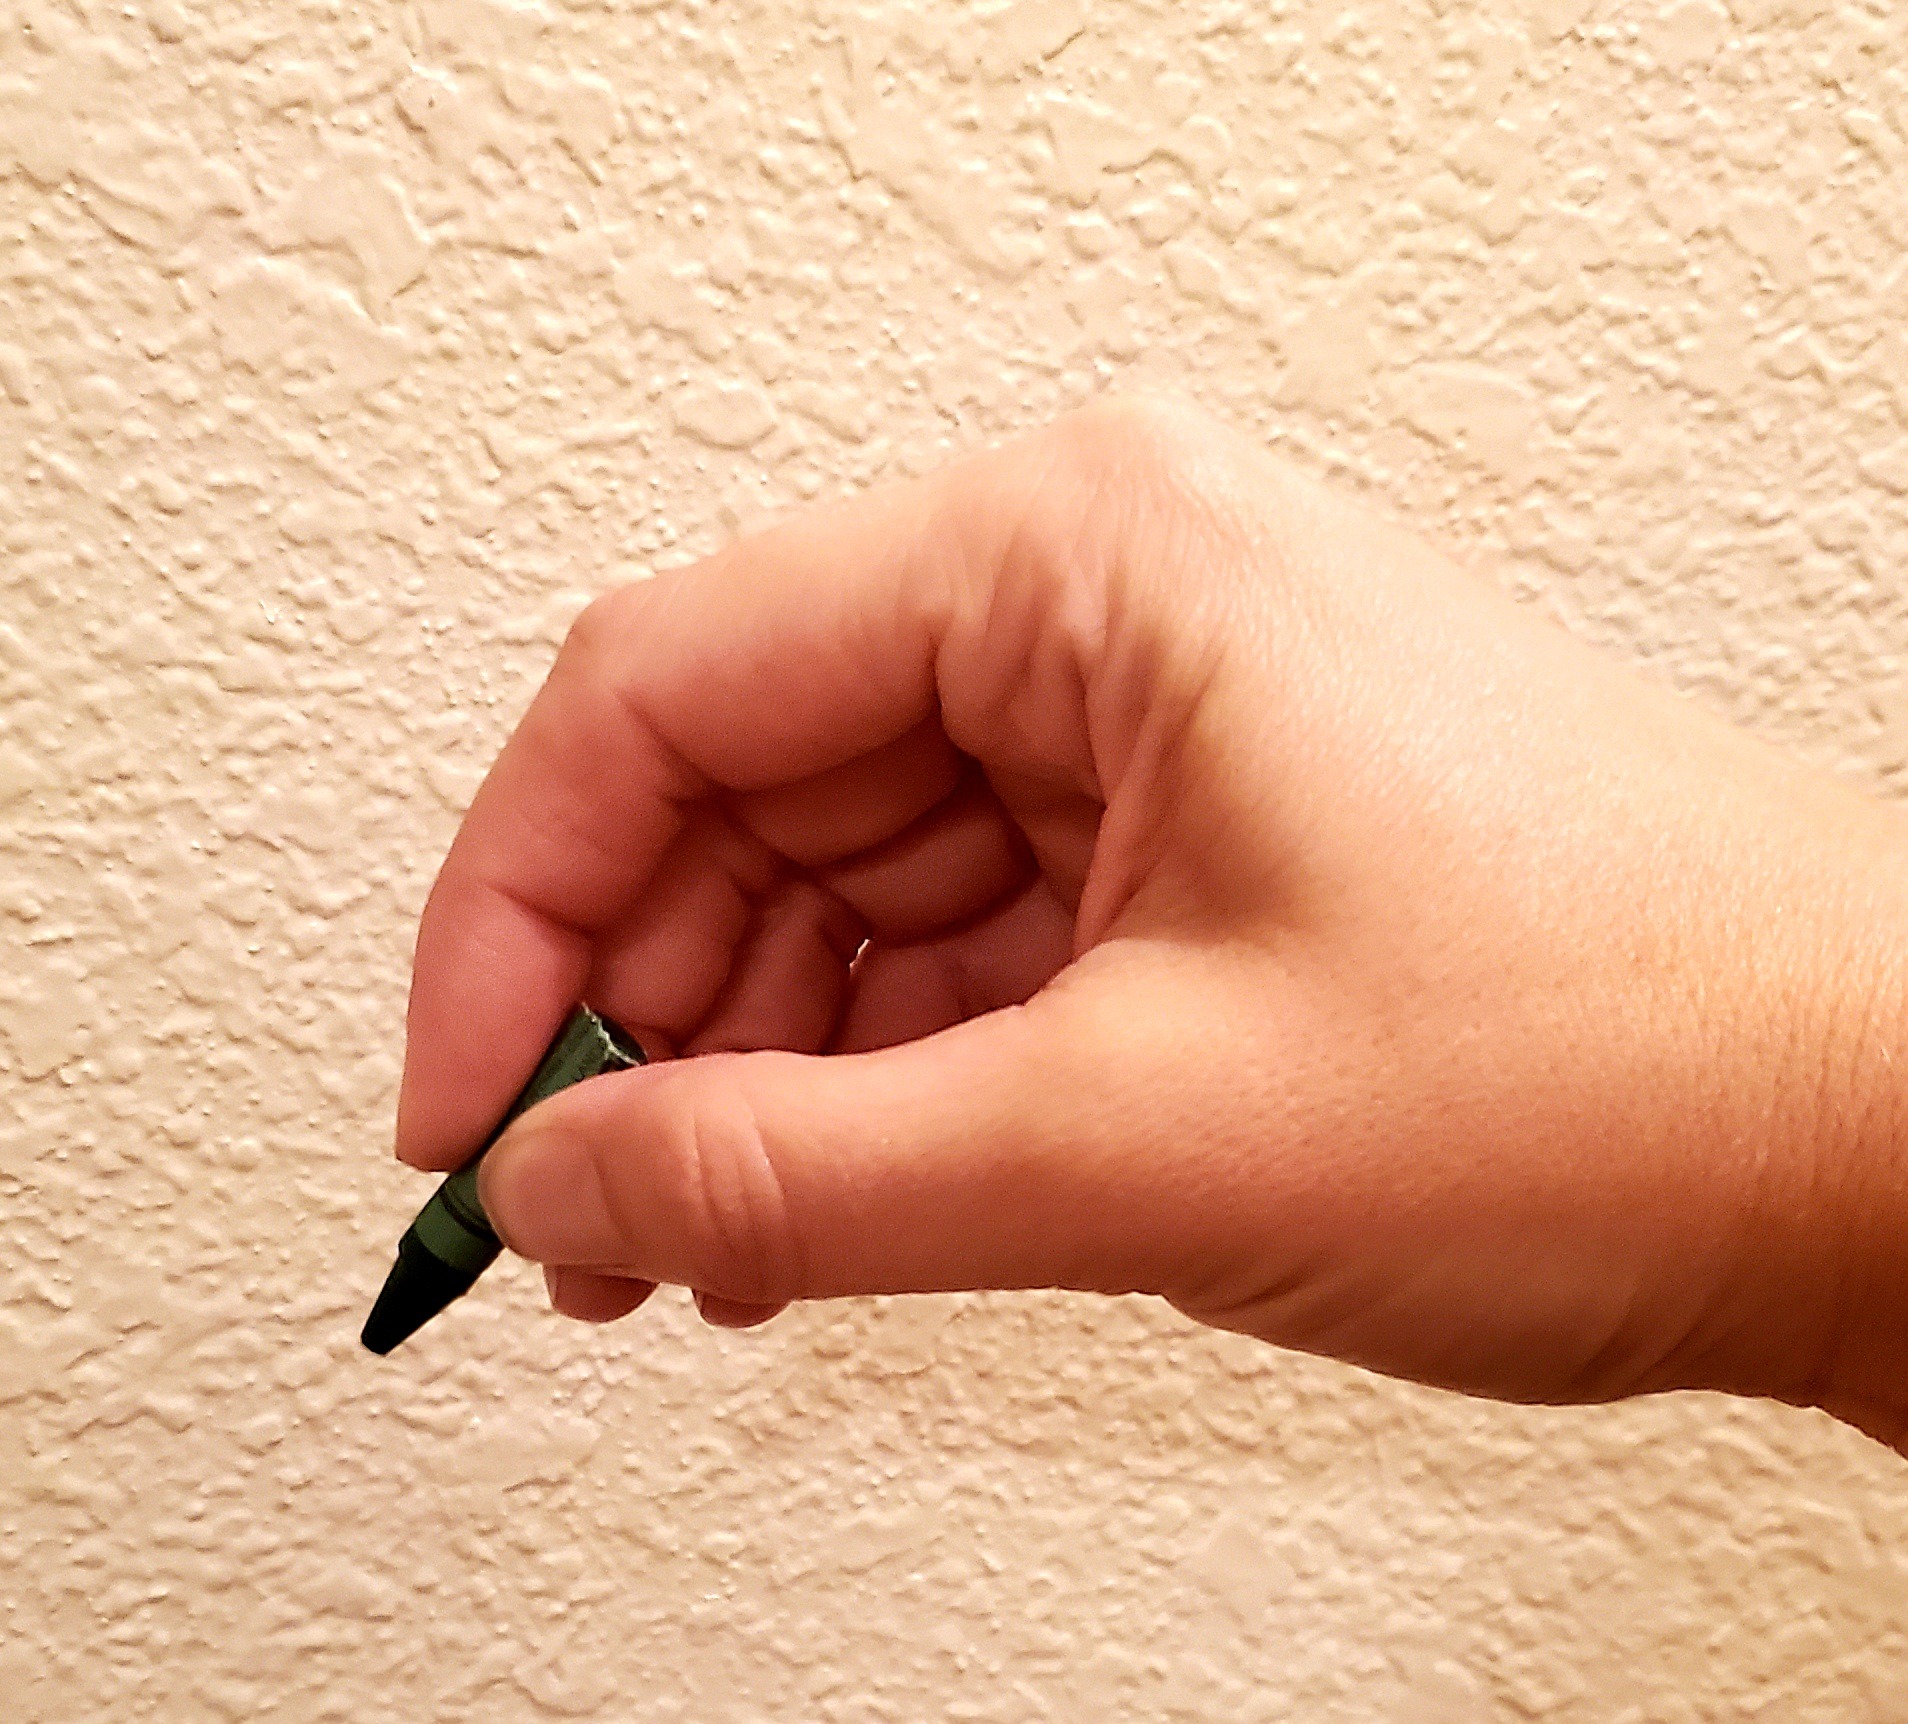
- Break your crayons! Broken crayons naturally allow a child to “pinch” near the tip since it is too small to hold with a fist grasp.
- Set up work stations or centers that use small, motor manipulatives that encourage pinching of the thumb and pointer finger. Examples include: peeling stickers, stringing small beads, pushing toothpicks into styrofoam, and placing Lite Brite pegs into playdoh.
- Hide a small object (e.g. pompom, eraser, etc.) under the child’s ring and pinky finger. Make it a game to see if the child can keep the object hidden until they are finished with their writing activity.
- “Pinch and flip method.” Teach the child to place the writing utensil on the table and point the tip towards their belly. Next, “pinch” near the tip with the thumb and pointer finger and “flip” the top of the pencil up towards the ceiling.
- Be consistent. Depending on the size of the classroom, have your students complete their writing activities with the teacher in either pairs or small groups so the teacher can closely monitor grasping needs and implement strategies as needed.
By understanding the importance of establishing age-appropriate grasping skills, you will feel confident that you are setting your Pre-K students up for future academic writing success!
 |
About The Author Tahnee earned her Masters Degree in Occupational Therapy from the University of Illinois at Chicago in 2010. She has worked with the pediatric population in the school setting since 2010 and in the outpatient clinic setting since 2013. Outside of work, Tahnee enjoys spending time with her husband, Nathan, her daughter, Zoe, and her dog, Ruthie. |